Saturday, April 25, 2009

Merkava 3D: Work-in-progress

Hi guys,
Some quick updates, begun sawing off the resin blocks of the turret, turret basket, upper & lower hull.

Brandon

Turret with the unwanted resin block(extreme right area)
Turret after the resin block removed(left area)

Turret basket after the resin block cut away.(Din take the pics with the resin block)
Lower hull with the resin block(extreme right side)

Lower hull after sawing off the resin block

Upper hull before sawing off the resin block(extreme right side)
Upper hull after the unwanted resin removed.

And the usual mess after just a few pieces are prepared. Not to mention that I cut my finger while working on the resin, something i'm used to when working with resin kits..

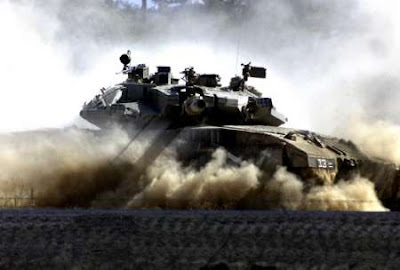
New subject: MERKAVA MK 3D (full resin kit)

Hi folks!
Guess i'll be starting on my next project very soon. Was supposed to give myself a 1 mth's break from modelling, but hands too itchy to leave them alone la..haha.. Nways, the original plan was to do a WWII subject next, but had too much inspiration to do the Merkava series again!! So had to switch plans around to do modern armor first. Guess this will be the last modern armor subject for this year, after which i'll move on to WWII where i can really focus on intense weathering practice...

Enough said, this is the Merkava Mk3D(Israel Tank) which i recently purchased(see earlier posts). Its a full resin kit, much heavier than the usual plastic kits. The modus operandi for constructing a resin kit differs quite a bit from the usual building process. I'll share this along the building process.

Brandon

1st obvious difference is the packaging as you can see and the instructions sheet. Not the usual ones where they guide you on where to glue each part, for this you just have to really figure out what goes where just by looking at the photos on the instruction sheet (see below)
2nd difference is that the parts don't come attached to sprues like plastic kits. They are attached to resin blocks which you either have to saw off and file to finish, or cut off carefully with a cutter.
That's all for now.

Friday, April 10, 2009

Updates: Work-in-progress STRYKER M1128 MGS

Hi folks,
The stryker's completed, BUT...pics are not ready yet. Let me share some of the in-progress shots first... The stages of weathering...
  1. Raw umber filter with oil paints. To tone down the over shade as well as begin the worn out look.
  2. Pin wash with raw umber around the rivets & recesses to add contrast to the smaller details as well as create depth.
  3. Subtle chipping around the frequently walked areas like hatches, edges. A darker shade of the base color was used.
  4. Dry brush of the raised details.
  5. Apply grey/brown filter from MIG Productions. To "sink" the washes and paint chips into the base color.
  6. Apply pigments+thinner over the chasis to create the muddy look. A darker earth color was used followed by lighter sand pigments to create the tonal variation of the mud & sand.
  7. Pigments + sand wash over the tires to create the dusty look.
  8. Pigments applied over the 0.5 MG
  9. Application of the sand pigments over entire model, concentrating mainly on the lower hull.
  10. Application of soot pigments over the muzzle & engine grille.

And lastly...My antennas mounted on...

Cheers!
Brandon